Crazy Quilt Collage
Quilt Block Patterns
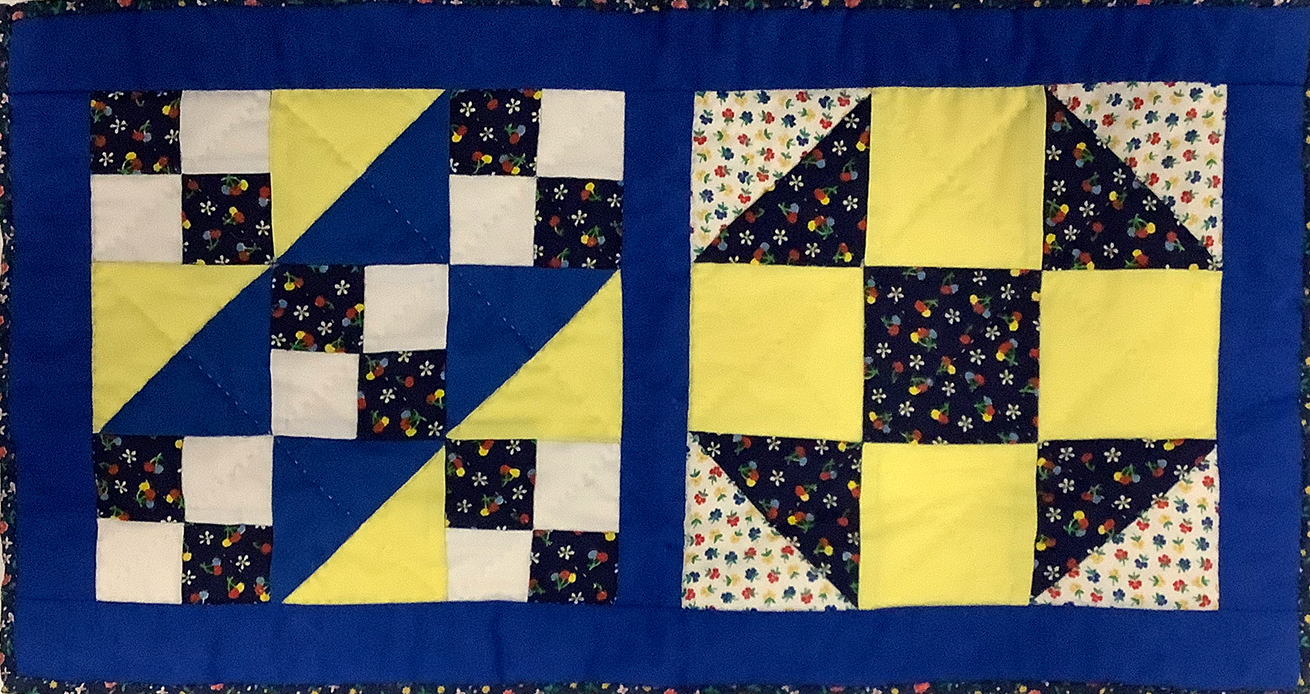
Quilt blocks are abstract patterns of colours and shapes. It is easy to imagine that the patterns are inspired by daily life. Nature, weather, household chores, travel, and hazards in the wilderness were popular themes. Other quilt blocks celebrated special events like weddings, or honoured important people.
Take the Quilt Block Quiz to try to guess the names of popular quilt block patterns.
Make a Crazy Quilt Collage
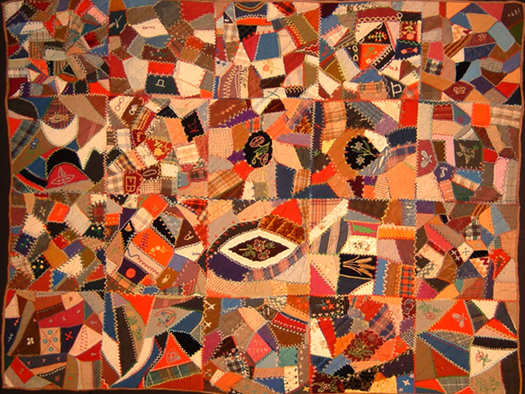
Crazy quilts were popular in the Victorian Era. To make a crazy quilt, a patchwork of oddly shaped fabric scraps were sewn together. The scraps were usually a mix of colourful luxury fabrics including silks, satins, brocades, and velvets.
These quilts were more decorative than practical. The seams between the pieces were heavily embroidered with gold or coloured silk. A skilled seamstress could choose from hundreds of different embroidery stiches. Further embellishments such as paintings, sketches, names, and dates made these quilts even more personal.
Follow the steps below to make your own Crazy Quilt Collage – no sewing required!
You will need:
- 1 piece of paper or cardstock
- Coloured paper
- Scissors
- Glue
- Marker
- Pencil
- Ruler
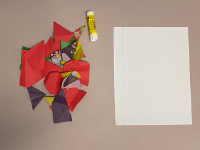
1. Start with a blank piece of paper. I used 8 ½” x 11” cardstock.
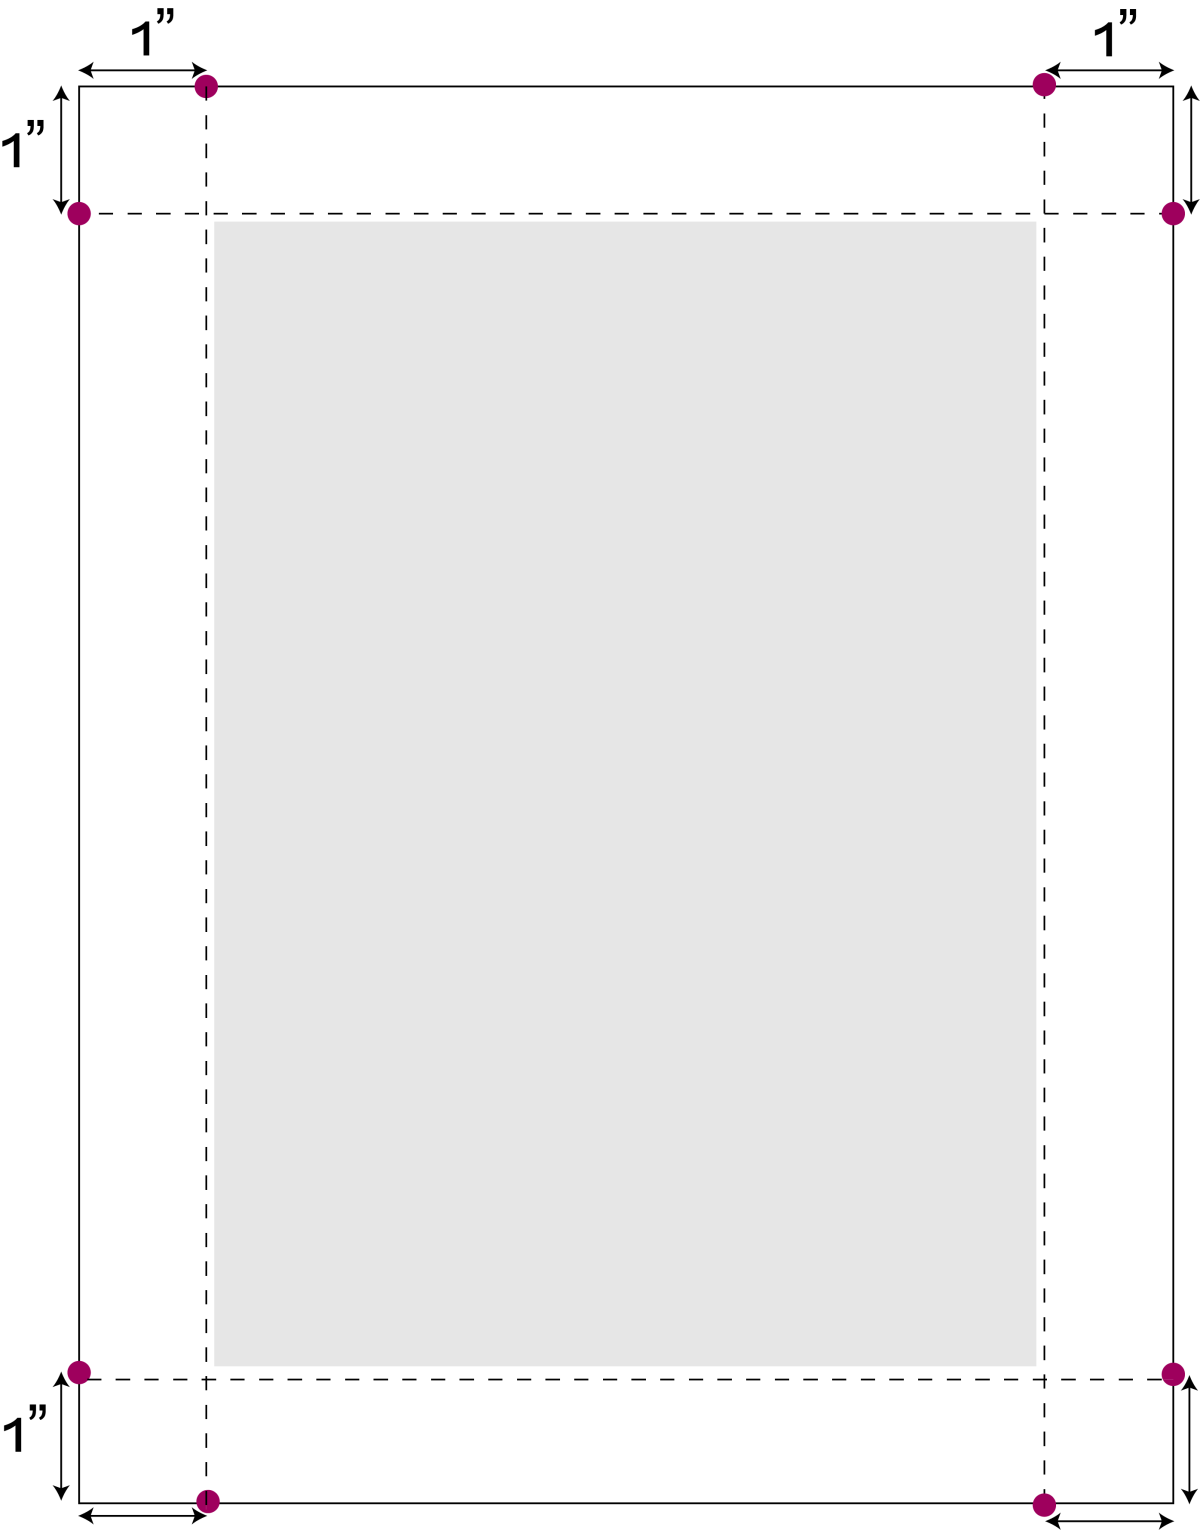
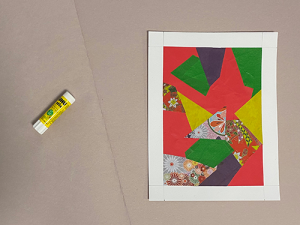
2. If you would like to make your quilt inside a border, like I did, follow these steps. Use a ruler to measure 1” inside from each corner of the page. Mark each spot with your pencil. You will have eight dots. Draw four lines to connect the dots just like in the diagram. Now you have a rectangle in the middle of your page. Carefully erase the pencil marks outside of the rectangle.
3. Cut several pieces of coloured paper into smaller pieces. The smaller the pieces are, the longer the craft will take. I recycled scraps of origami paper. You can use any type of coloured paper. Construction paper, wrapping paper, or even newspaper will work.
4. Arrange the pieces of coloured paper on the background paper. You can overlap the pieces. If you need to, trim them so they fit better. Make sure none of the background paper is showing. Glue the pieces on as you go, or glue then all at the end once you’ve created a pattern that you like.
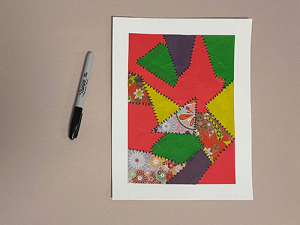
5. After the glue has dried, use a marker (I used black) to make little tick marks where each of the different pieces of paper touch. Try to make the tick marks look like stitches.
6. Put your name on one of the patches in your quilt and tidy up your work space.
A Legacy of Quilting
Quilts are made by enclosing a layer of stuffing between two layers of fabric. Lines of stitching through all three layers keep the stuffing in place. This is a very old technique.
In Lambton County in the nineteenth century, quilts were used as warm blankets, cushions, and for wrapping breakable objects when travelling. Material for new quilts was scarce and costly. Old quilts were patched and reused until they wore out.
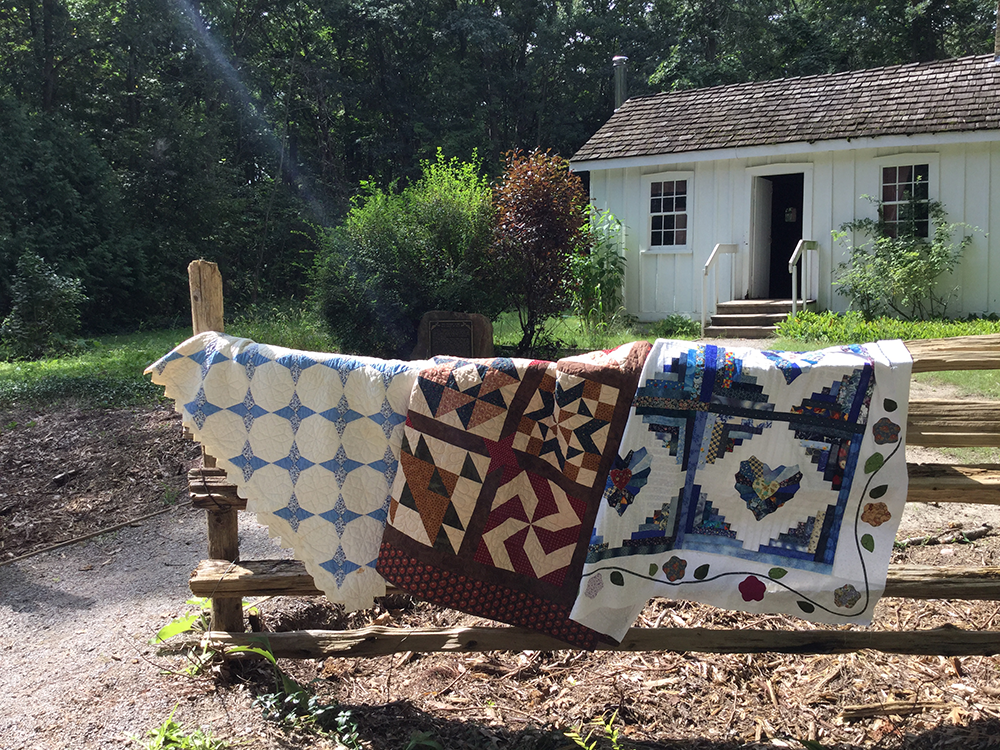
Quilting is a practical outlet of artistic expression. For most families to make a new quilt in the 1800s, scraps of cloth were saved and sewn into colourful patterns called quilt blocks. Several quilt blocks were joined together to make a quilt top. Sheep fleece, rags, raw cotton, dried leaves, and feathers were used for stuffing. The backing was made from large pieces of fabric. Thousands of little stitches applied in a decorative design held the layers together.
Children learned to quilt as soon as they could sew. The simplest quilt blocks were the most popular. There was rarely enough spare time to create a fancy quilt.
Women gathered together to quilt. This was called a quilting bee. By working together, they could quickly complete their work. It was also an opportunity to socialize and have fun.

 Subscribe to this page